Pages

Saturday, June 24, 2023

Butterfly Fathers Day Cards (Hero Arts)

I used the Hero Arts February 2023 kit to make Fathers Day cards.  This kit contains butterfly rub-ons which can then be cut with the included dies.  Since the butterflies are so realistic they made great cards for Fathers Day!


For these cards I used:
  • Hero Arts - February 2023 Kit - Dies and Rub-ons
  • Vellum
  • Gina K Designs - Black Onyx Ink, Master Layouts 7
  • Simply Defined - Be Inspired Journey
To make the cards, the mini-slimline card bases were created.  The white panel and black mat were then cut using Gina K ML 7 and attached to the card bases.  I used vellum paper for the butterflies, since it provided a bit of transparency in the butterfly wings. The butterflies were attached to vellum paper and then cut out using the associated dies.  The butterflies were then attached to the white panel and the sentiment from the Simply Defined set stamped to complete the card.

Saturday, June 17, 2023

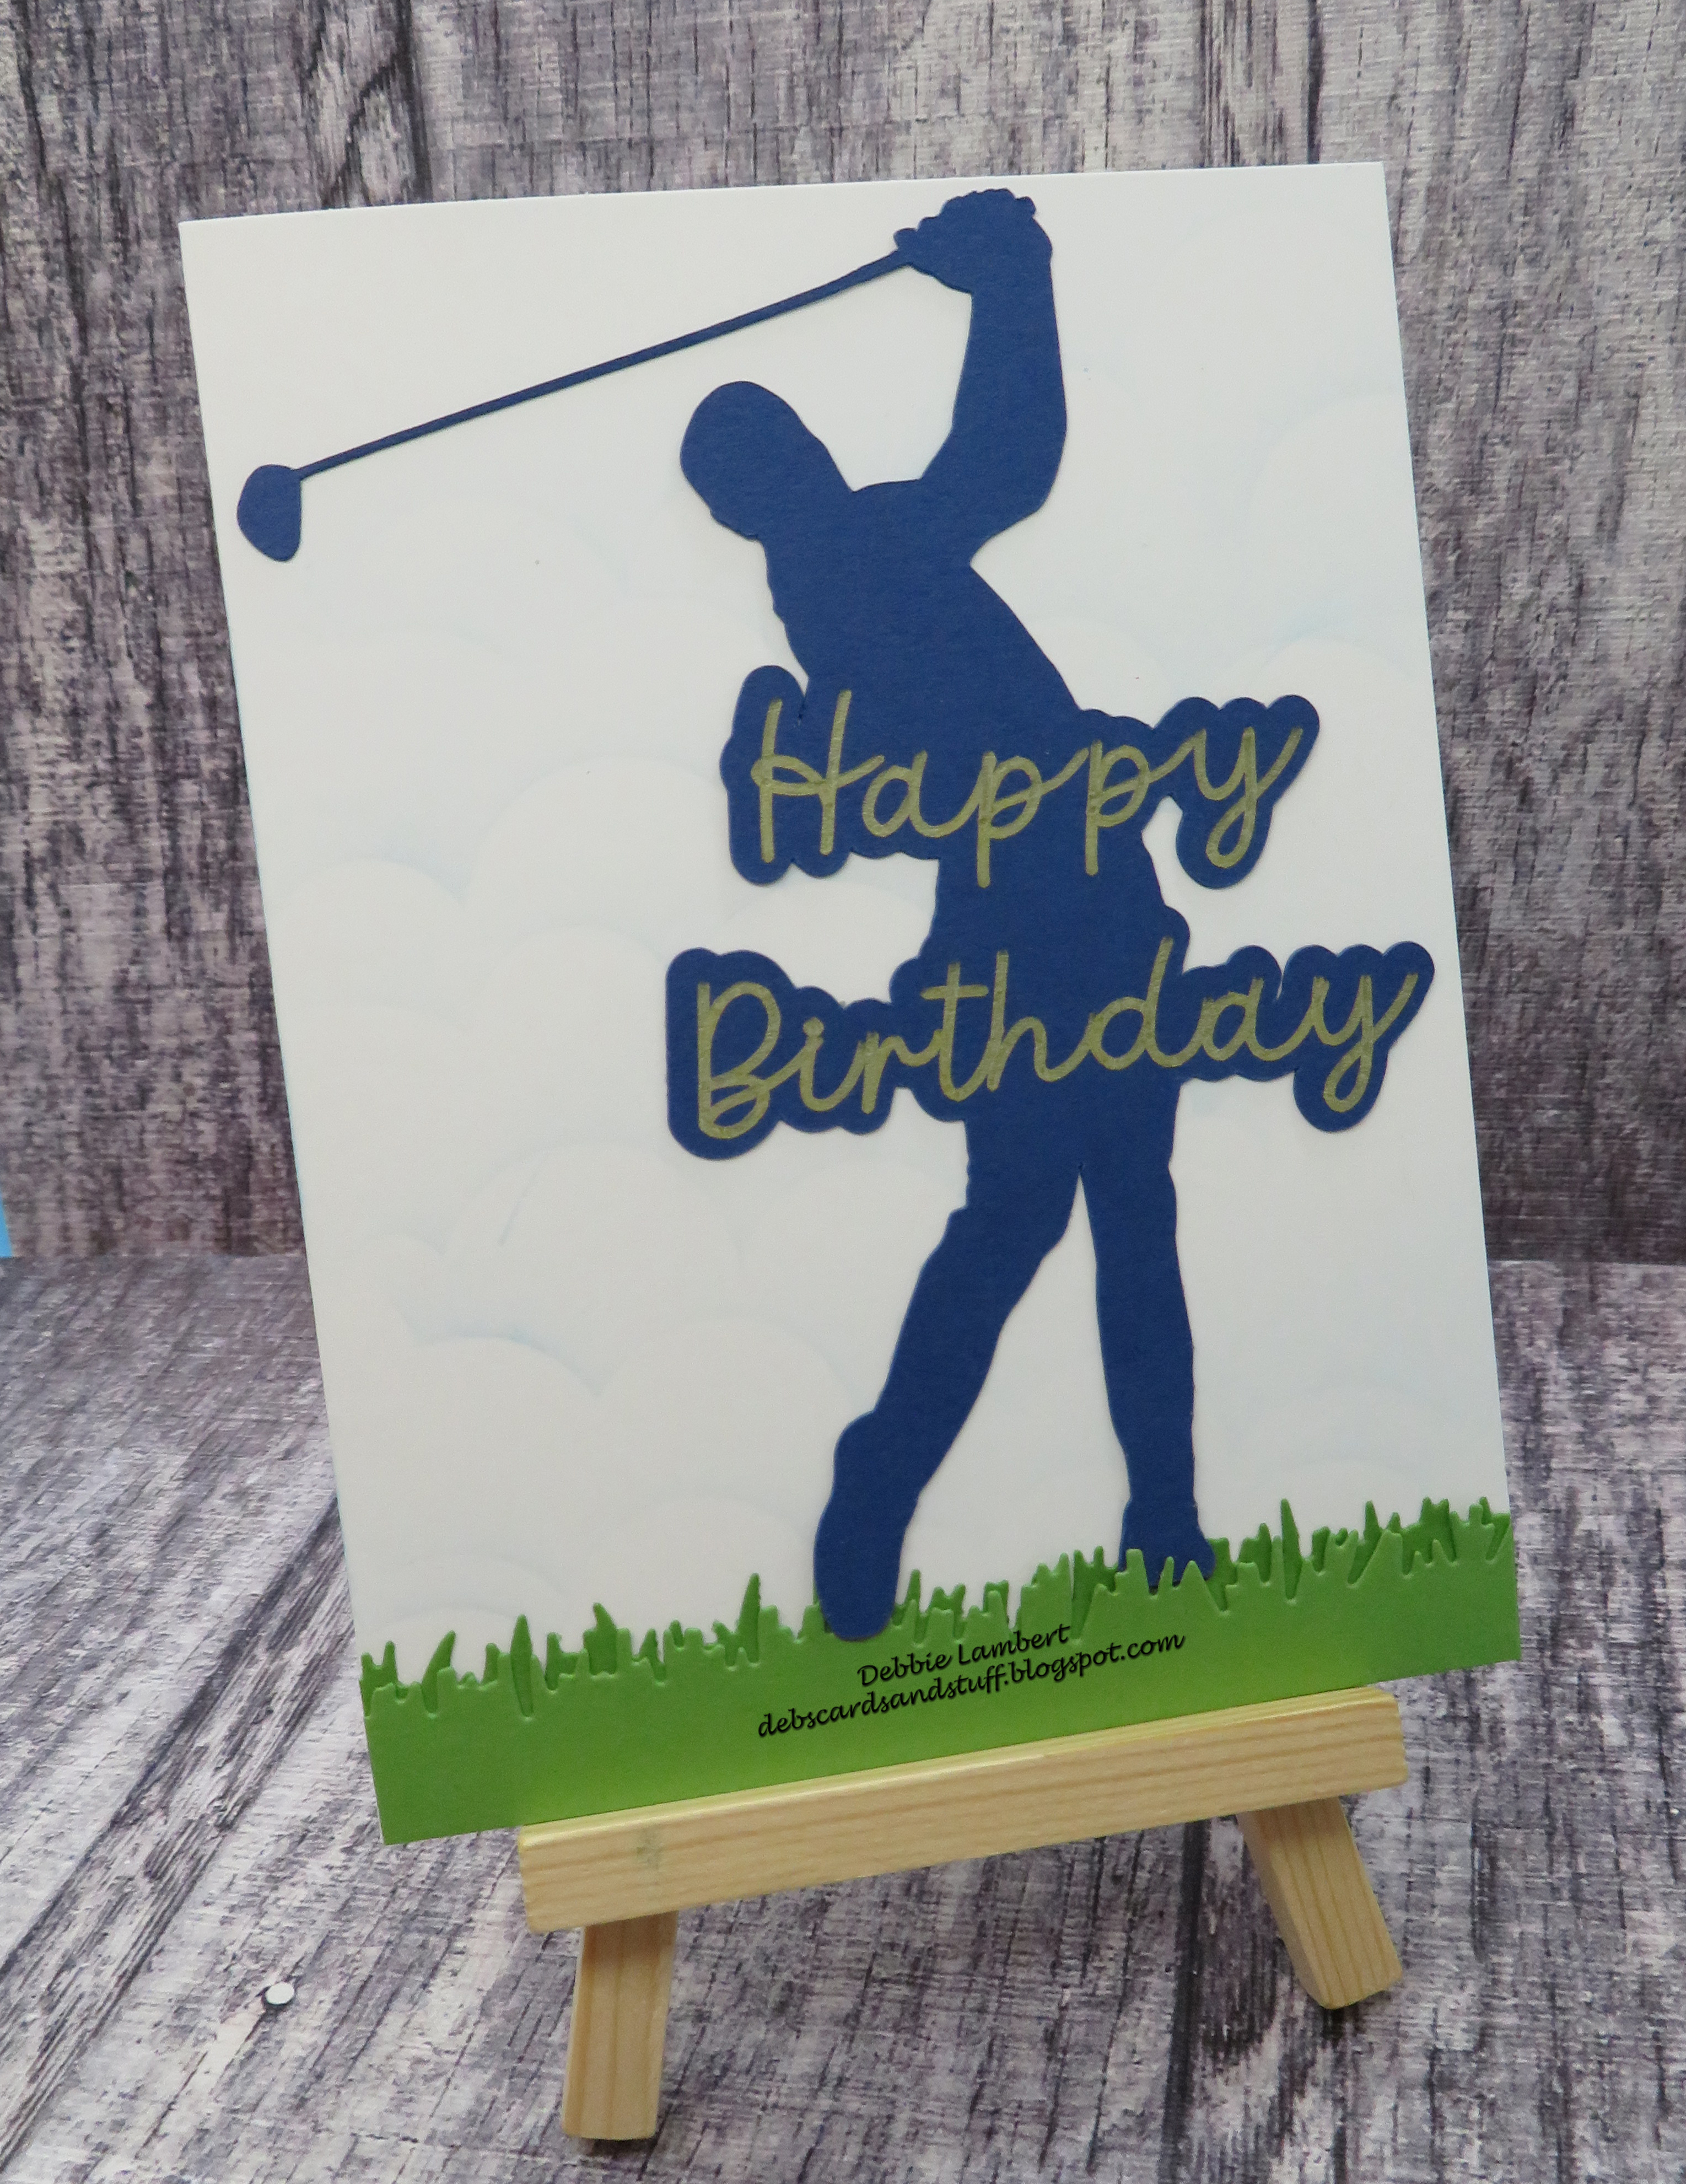
Golfers Birthday Card

 Here is a birthday card perfect for a golfer:


I used the following for the card:

  • A Cricut image
  • Gina K - Master Layouts 6
  • Gina K - Powder Blue Ink
  • Simon Says Stamp - Clouds for Days stencil
To make the card I chose the image using Cricut Design Space.  I merged the text into the image and cut it out.  The clouds were lightly stenciled directly on the card base.  The grass was cut using ML 6 and added to the bottom of the card.  The golfer was then added to complete the card.  

Saturday, June 10, 2023

Happy Birthday using Happy Birthday Trio

The Happy Birthday Trio dies are so versatile and great for making "guy" birthday cards.  Here are 2 cards made with these dies:


 I used the following for the cards:

  • Gina K - Happy Birthday Trio
  • Gina K - Master Layouts 2
For the first card, I used a previously created alcohol ink background (made 5+ years ago!) and cut the shadow area from the center.  This was then cut with ML 2, along with the mat which was in a coordinating color solid paper.  "Happy" was cut from black metallic paper, and "Birthday" cut from silver paper.  These were attached and then the entire piece was added to a white card base to complete the card.

For the second card, I used the shadow area previously cut and added "Happy" and "Birthday".  I then found some patterned paper where the colors complimented the sentiment.  These were added to a white card base and the sentiment added with foam tape to provide a bit of dimension to complete the card. 

Saturday, June 3, 2023

Radiant Roses Cards

I still love the versatility of the Radiant Rose Bundle from Gina K Designs.  For these cards, I used the stamps and dies from the bundle.  I used a variety of inks for the flowers and leaves and they ended up looking good with some of the patterned papers from some of the past kits.  Petite Flourish Foil Mates and Petite Patterns were foiled as well! 


I used the following for the cards:
  • Gina K - Radiant Roses stamps and dies
  • Gina K - Inks in a variety of Colors
  • Gina K - Fancy Foils - Grass Green
  • Gina K - Birthday Cheer, Love is All You Need stamps
  • Gina K - Master Layouts 1, Large and Small Oval dies
  • Gina K - Petite Flourish Foil Mates
  • Gina K - Petite Patterns Paper Pack
  • Gina K - Watercolor Floral Patterned Paper, Autumn Splendor Paper and Ephemera
  • Thermo Web - Deco Foil Champagne
To make these cards, I first stamped the roses in a variety of colors.  The leaves were stamped using a variety of greens.  These were then cut out.  I cut several white ovals and associated mats from the large and small oval die sets.  The flowers and sentiments were arranged on the ovals, attached, and then the sentiments stamped.  I selected the patterned papers for the backgrounds including some I foiled!

These papers were cut with ML 1 along with the mats.  The backgrounds were attached to the mats, and added to the card bases.  The bands were matted and added to the cards.  And finally the ovals added to complete the cards.  

Monday, May 8, 2023

A Cricut Graduation Card

Its graduation time again this year.  Our granddaughter is getting her Master's Degree and of course a card is needed for the occasion! This card came together quickly by using my Cricut and Gina K Designs Master Layouts.

I used the following for the card:
  • Gina K Designs - Master Layouts 1
  • Gina K Designs - Faded Brick Ink
  • Wendy Vecchi - Basically Bricks Stencil
  • Cricut Design Space
To make the card, I used a silhouette design from Cricut Design Space.  I added the text with an offset and merged it with the silhouette.  The image was cut using my Cricut.  The background was created with the brick stencil and Faded Brick ink using blender brushes.  The background image was cut using Master Layouts 1, along with the associated black mat.  The background image was added to the mat and the entire piece added to the card base.  The Crucit image was then added to complete the card.


Sunday, March 26, 2023

Radiant Roses Layering Bundle

There are so many options with the Radiant Roses Layering Bundle.  For my next card, I used the layering stencil and the embossing folder to make a quick and elegant card. 


 I used the following to make the card:

  • Gina K Designs - Master Layouts 1
  • Gina K Designs - Ink - Dark Orchid, Medium Orchid, Light Orchid, Jelly Bean Green, Asparagus, Black Onyx
  • Gina K Designs - Radiant Roses Layering Bundle - Stencil, Embossing Folder, Stamps, Dies
  • Gina K Designs - Disco Ball Sequins
To make the card, I embossed a piece of white card stock with the embossing folder.  The layering stencil was then used over the embossed area to add the ink colors with a blending brush.  The panel and a black mat were then cut with the ML 1 dies.  These were added to a card base.  The sentiment was stamped in black then die cut with the associated die and added to the card with foam tape.  A few disco ball sequins were added to complete the card.


Sunday, March 19, 2023

Radiant Roses - Foiled

I'm just loving the Radiant Roses Layering Bundle from Gina K Designs.  There are just so many options available with this bundle.  For my first card, I decided to use just the layering stencils and foil. (and I got a decent picture of the foiled images!)


I used the following for the cards:

  • Gina K Designs - Radiant Roses Layering Stencils
  • Gina K Designs - Bold Bloom (for the sentiment)
  • Gina K Designs - Black Onyx Ink
  • Gian K Designs - Master Layouts 1
  • Gina K Designs - Paper - Kraft, Black and Plum Punch
  • Deco Foil - Transfer Gel
  • Deco Foil - Emerald Watercolor and Amethyst Watercolor foils
To make the card, I added the deco foil gel through one of the layers of the stencil.  Once it was dry, the area was foiled.  The next layer was then aligned and deco foil gel added. Again, once dried, the area foiled.  The entire panel and the black mat were then cut with ML 1.  These were then added to the plum card base.  I kept things simple, and added a small sentiment to the bottom corner to complete the card.