Pages

Monday, December 21, 2015

Northwoods Rubber Stamps - Man FIshing In Canoe with Dock

I love the names that Northwoods Rubber Stamps gives to their stamps!  They are very descriptive.  I love the stamps.  I've used this stamp before and colored them with Copic Markers.  I was new to Copics, and didn't have many colors.  Since the stamp is detailed, and at the time my Copic skills were novice, it didn't come out as good as it could have.  Recently I got a full set of Prismacolor Pencils, and thought I would use this stamp again.  Here is the result:


I really liked the result.  It seemed as if I could get the details much better with the Pencils.  Now I need to try it again with Copics!

This card is 4.25 x 5.5, and was made with the following:
  • Northwoods Rubber Stamps P9104 - Man Fishing in Canoe with Dock
  • Prismacolor Pencils
  • Versafine Black Onyx Ink
  • Gamsol
The card was easy to make - I stamped the image with Versafine Black Onyx Ink, and colored it with the Prismacolor Pencils.  I used a bit of Gamsol to blend the color in the water and the dock.  Once completed, I trimmed the image, matted it and added it to the card base to complete the card.

Monday, December 14, 2015

Need Last Minute Christmas Cards? (Stampendous Delicate Snowflake)

Well, this year I needed a few more Christmas Cards.  I didn't have enough time to make any detailed cards, but then I remembered I had the Delicate Snowflake stamps from Stampendous.  The largest stamp fits perfect on a 4 x 5.5 card.  I was able to make several of these cards in about an hour.  Here is the card:


To make this card I used:

  • Versamark
  • Stampendous Detailed While Embossing Powder
  • Stampendous Delicate Snowflakes
  • Lawn Fawn Winter Scripty Sayings
This was one of the easiest cards to make! I trimmed a piece of dark blue card stock slightly smaller than the card base.  I then stamped the largest of the Delicate Snowflake stamps with Versamark.  The embossing powder was added and heat set.  I then stamped the sentiment with Versamark, added the embossing powder and heat set.  The image was then added to the white card base.

Monday, December 7, 2015

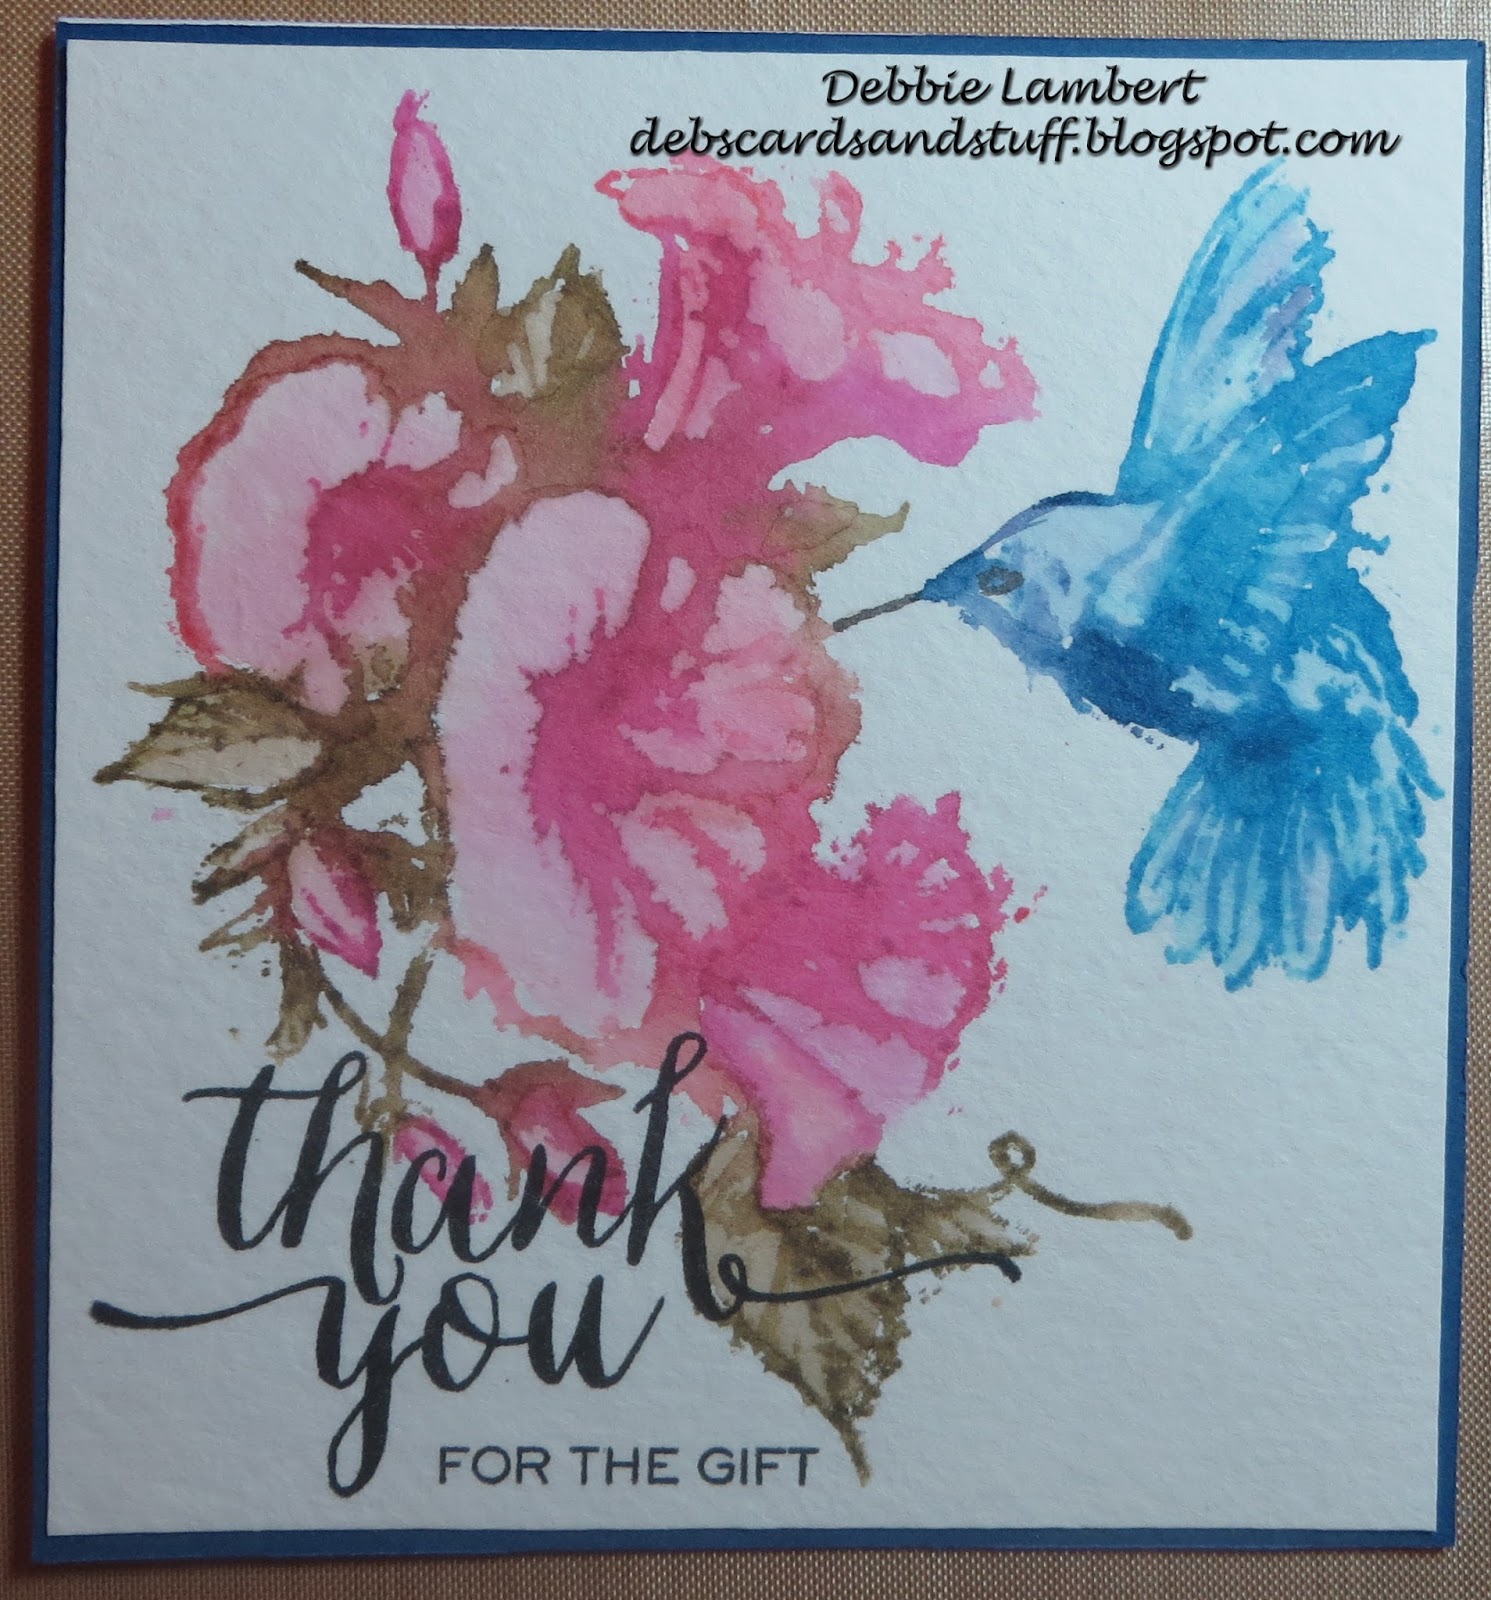
Thank You Card with Inkadinkado Hummingbird with Flower Stamp

I recently reorganized my stamp storage.  I also un-mounted all of my wood mounted stamps.  I found this stamp during my reorganization.  I thought that this stamp would work great with Distress Markers.  The card is 4.25 x 4.25 and here is the card I made with the Inkadinkado Hummingbird with Flower Stamp:


To make the card, I used the following:
  • Inkadinkado Hummingbird and Flower Stamp
  • Distress Markers - Picked Raspberry, Worn Lipstick, Salty Ocean, Black Soot, Peeled Pain, Chipped Sapphire, Forest Moss
  • WPlus9 Hand Lettered Thanks Stamp set
  • Versafine Black Onyx Ink
  • Watercolor Paper
To make the card, I colored the stamp with the Distress Markers, and then lightly sprayed the colored stamp with water.  I then stamped the image onto Watercolor paper.  Using a water brush, I lightly pulled the color into the different areas, while still maintaining the outline.   Once the image was dry, I stamped the sentiment, and then mounted the image to the card base.

Monday, November 30, 2015

Northwoods Rubber Stamps - Three Birdhouses with Morning Glories and Birds

I made this card for my Mom for her Birthday.  The card is 4.25 x 5.5.


To make this card, I used:
  • Northwoods Rubber Stamp - Three Birdhouses with Morning Glories and Birds (P9080)
  • Prismacolor Pencils
  • Versafine Black Onyx
  • Gamsol

To make the card, I stamped the image with Versafine, and colored it with my Prismacolor Pencils.  I used Gamsol to blend the color in the Bird Houses.  The image was trimmed and matted, and then added to the card base to complete the card. 

Monday, November 23, 2015

Bird Crazy Christmas

I just can't seem to get enough of the Bird Crazy Stamps!  With the Crazy Things accessories, these birds can be used for any occasion!  Here are the cards, each is 4.25 x 5.5:


I kept a lot of the elements the same between the cards.  Here are some close-ups:


For these cards I used the following:
 
  • Bird Crazy Stamps and Dies
  • Crazy Things Stamps and Dies
  • Memento Cottage Ivy, Tuxedo Black
  • Copic R20, R21, R24, R27, R29, E04, E93, N0, N2, B21, B24, B29, BG000, BG02, YR12, YR14, G20, G21, G24, YG63, YG67
  • Stampin' Up Lovely As A Tree
  • Ranger Texture Paste
  • Memory Box Winter Tiny Snowflakes
  • Wink of Stella Clear
To make the cards, I stamped the birds, the Santa hats, and packages with Memento Tuxedo Black ink.  These were then colored with the Copic Markers. Wink of Stella was used on the packages and the trim on the hats. I then used the associated dies and die cut the birds, hats and packages.
 
For the background, I stamped the trees with Memento Cottage Ivy, using first and second generation stamping.  I then added the snowflakes using the Winter Tiny Snowflakes stencil and Ranger Texture Paste.  Once dry, I added the birds.  The entire piece was then added to the card base to complete the card.


Monday, November 16, 2015

Monster Truck Birthday Card

Here is a card I made for one of the grandkids, who loves Monster Trucks.  The card is 4.25 x 5.5.


It took a while to find a Monster Truck Stamp that would be appropriate for a teen (it could not be too "cutesy").  I found an on-line store Local King Rubber Stamp, which has some wonderful stamps including the one I used for the card. 

I used the following to make the card:
  • Local King Rubber Stamp - Rough Riders Stamp set
  • Memento Tuxedo Black Ink
  • Wink of Stella Clear
  • Copic Markers B00, C5, C3, C1, C00, R27, B0000
  • Versmark
  • Stampendous Detail Black Embossing Powder
  • Close to My Heart Joyful Birthday
  • Black Brads
  • Glossy Accents
To make the card I stamped the image with Memento Tuxedo Black, and then colored it with the Copic Markers.  I added Wink of Stella to the Truck body.  I then fussy cut the image, which was then added to silver card stock.  The sentiment, from Joyful Birthday was stamped with Versmark, Detail Black embossing powder as added and heat set.  This was then matted with red card stock.  Brads were added at the corners, and then the entire piece was added to a black card base.  Glossy Accents was then added to the windows to finish the card. 

Monday, November 9, 2015

Christmas Tag Card with WPlus9 Quilt Prints

A while ago, I got the WPlus9 Quilt Prints Stamp set, and finally had a chance to use it this year.  Here is the card I made using the stamp to create the background.  The card is 4.25 x 5.5


I used:
  • Memento Tuxedo Black and Desert Sand Inks
  • Ranger Dye Ink Classic Cherry and Lily Pad
  • WPlus9 Quilt Prints Stamp set
  • Phrases Cricut Cartridge
  • Close to My Heart Ornamental Cheer
  • Stampendous Detail Gold Embossing Powder
  • Versmark
  • Ribbon
To make the card, I stamped the outline shape from the Quilt Prints.  I then filled in the blank areas with a variety of the stamps from the set using Desert Sand, Classic Cherry and Lily Pad inks.  I trimmed the image to 4.25 x 5.  The tag on the card was cut from the Phrases Cricut Cartridge.  The tag was then stamped with Versmark with one of the stamps from Ornamental Cheer.  Gold embossing powder was added and heat embossed.  Ribbon was added to the tag, and the tag was added to the Quilt image and then added to the card base.