Pages

Monday, May 30, 2022

Cricut Birthday card

Cricut now has "cutaway" cards.  These images have both a print and cut portion.  I used one of the predesigned images for this card:

I used a silver pen for the print portion, and the backed the card with a piece of holographic paper.  This was then matted in black and added to a white card base.  

Monday, May 23, 2022

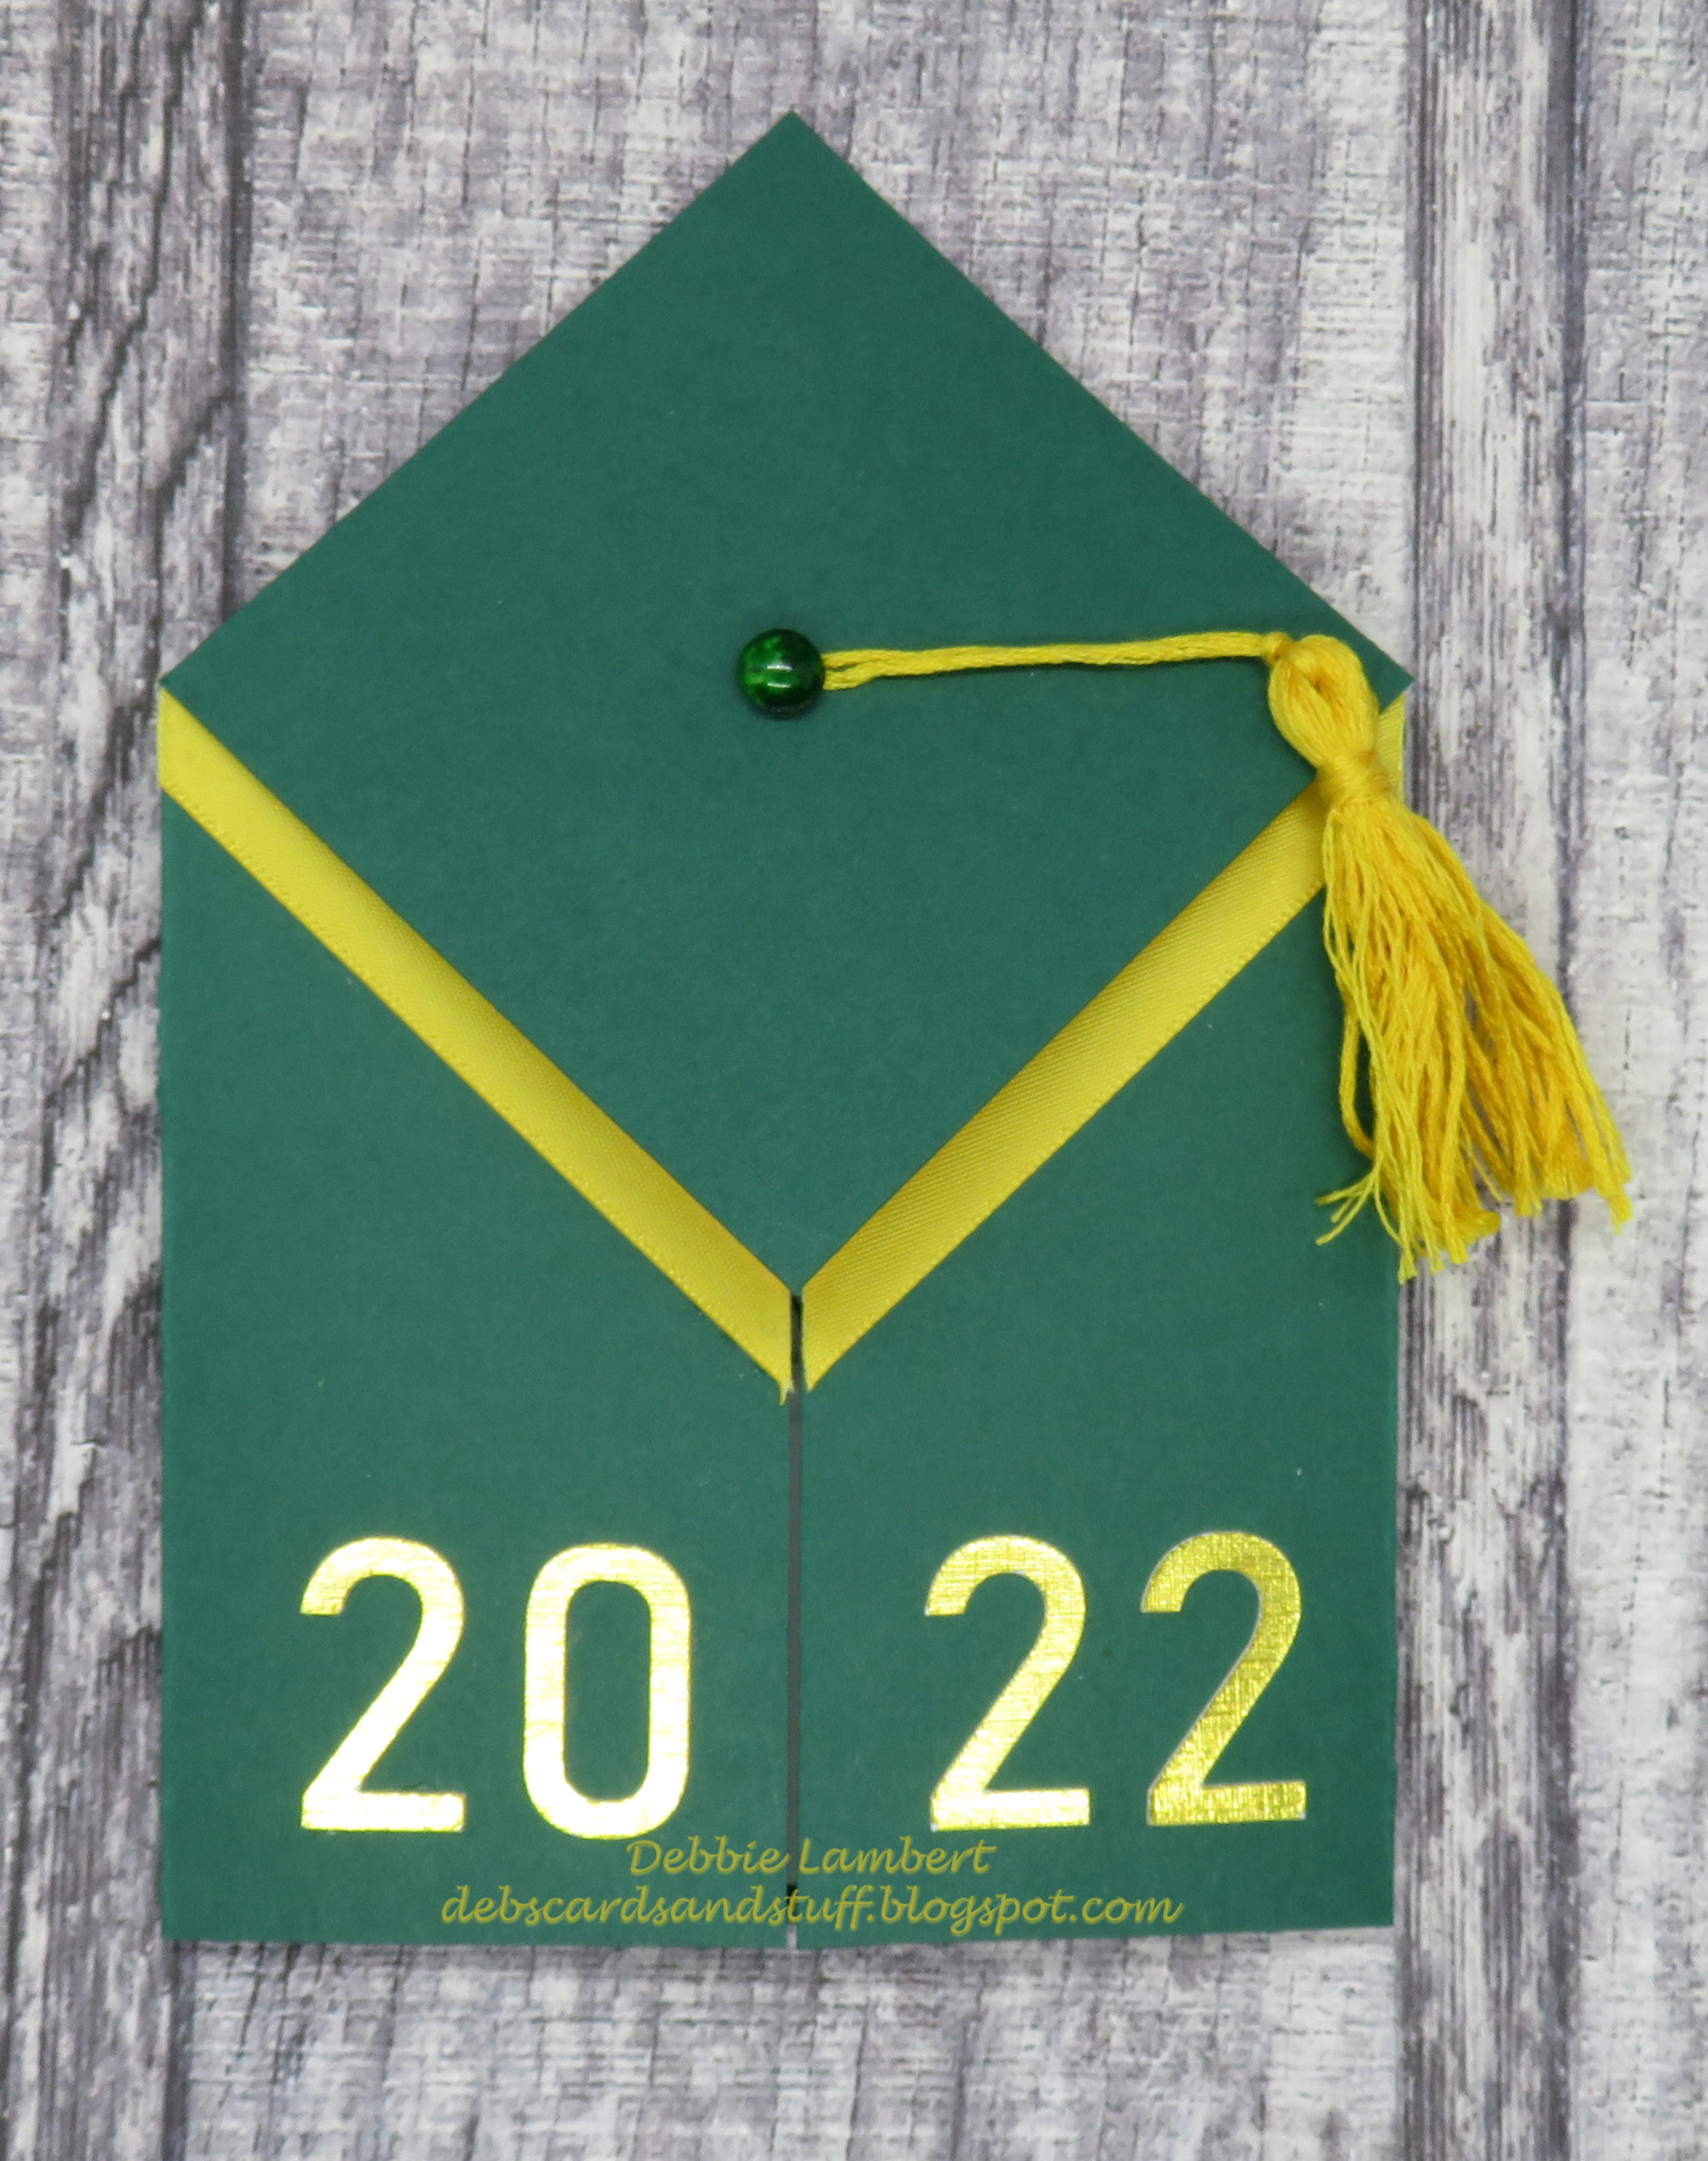
Graduation Cap and Gown Cards.

It is graduation season, while I usually don't need any cards, this year I need several.  Since I rarely make graduation cards, I don't have any graduation related stamps.  While looking on Pinterest, I found a card I knew I could make (see the pin here).  What was even better, was there was a blog post (see here) and a video (see it here).  I totally copied what was there (one card even has the same colors!).  

This is such a great design!  

Here are the cards:


The measurements I used:

Card base was 5.5 x 8.5, with score lines at 2 1/8 from each end. The cap - 3 inches.  The white portion of the gown - 3 inch square, cut into quarters.  The tassels were made from matching DMC floss.  Ribbon added between the white and colored portion of the gown. The numbers cut from my Cricut.

Monday, May 16, 2022

A Foiled Birthday Card

I love using foil for cards, and this birthday card in no exception! I just wish it was easier to photograp.


For this card I used:
  • Therm-O-Web - Deco Foil - Rainbow Shattered Glass
  • Therm-O-Web - Toner Sheets
  • Gina K Designs - Birthday Trio, Master Layouts 2
  • Confetti Background
To create the card, I printed the confetti background using a laser printer.  Using my Minc machine, I added the foil.  This was then cut using Master Layouts 2 (along with the black mat).  The two pieces were attached and added to the card base.  Using the Toner Sheets, I cut the Happy Birthday, and added the foil using my Minc.  The shadow layer for the sentiment was cut using black cardstock.  The foiled Happy Birthday was added to the shadow layer, and the entire piece added to the card base using foam tape to complete the card. 

Monday, May 9, 2022

Using a Snowflake stencil for a Spring Anniversary card! (Gina K)

Who says snowflakes are only for winter!  Using rainbow colors and a bit of Glitz Glitter Gel can transform a snowflake image.  


For this card, I used the following:

  • Gina K Designs - Snowflake Mandala Stencil
  • Gina K Designs Ink - Cherry Red, Tangerine Twist, Wild Dandelion, Luck Clover, Blue Raspberry, Wild Lilac, Black Onyx
  • Gina K Designs- Glitz Glitter Gel - Iridescent
  • Gina K Designs - Master Layouts 2
  • Altenew - Vintage Roses (for the sentiment)
  • Honey Bee - Sentiment Banners

To make the card, the stencil was attached to a white piece of card stock.  Ink was added in rainbow order. This was finished with a layer of Glitz Glitter Gel to give a glittery look to the snowflake (which also made it hard to photograph!).  Once dry the panel was cut using Master Layouts 2 along with the associated black mat.  These two pieces were attached, and then added to the card base.  The sentiment was stamped and then cut with the banner die.  This was added to the card with foam tape to complete the card.

Monday, May 2, 2022

Cricut Anniversary Cards

I needed a few Anniversary cards, so I decided to get out my Cricut to make some!

The first card is based on a card made by Natasha Foote (see the video here).  I loved the layout she used.  Using my Cricut, I was able to create the Heart and Banner.  I used the text feature to create the sentiment.  The heart was cut 4 times and glued together for additional height.  The strips were cut from various paper. I added a few dew drops (from Honey Bee) to complete the card.

For the next card, I cut the heart (both layers) from my Cricut.  I glued them together and added them to the card base.  The sentiment is from one of my favorite stamps sets from Picket Fence Studios, "Words to Say Happy Anniversary".


Wednesday, April 20, 2022

So many cards (so far) with the new Gina K kit Watercolor Spring

When I saw the newest Gina K Designs kit, it was one that I knew I needed to have!  I knew that I would be making a lot of cards with it, and I was right!  I've made 8 so far, and have only touched the paper end ephemera!


I used the following for the cards:

  • Gina K Designs - Watercolor Floral Paper and Ephemera from the Watercolor Spring Kit
  • Gina K Designs - Large and Small Oval Dies, Large and Small Circle Dies, Master Layouts 1, Master Layouts 2,  Master Layouts 4
  • Gina K Designs - Black Onyx Ink
  • Gina K Designs - Wild Blossoms (Happy Birthday)
  • Picket Fence Studios - Words to Say (Happy Anniversary)
  • Close To My Heart - Framed Stamp of the Month (Mothers Day)
To make the cards,  I first die cut all of the pieces. From Master Layouts 1 - 4 white rectangles, with the associated black mats.  From Master Layouts 2 - 4 white rectangles, with black mats.  From Master Layouts 4 - 4 white flag shapes and associated black mats.  From the Small Oval set - 4 of the medium ovals in white and from the Large Oval set - 4 of the medium ovals in black. From the Small Circle set - 4 of the medium circles in white and from the Large Circle set - 4 of the medium circles in black.   The flower strips were cut from the Watercolor Floral paper with a length to fit and a width of 1.75 inches.  An associated black mat was cut for these pieces as well.  The white rectangles were matted with the black pieces and the flower strips added.  The ovals were added to half the cards, and the circle with flag shapes were added to the remaining cards.  These were then added to card bases.  The ephemera and sentiments were added to complete the cards.

Monday, March 21, 2022

Thinking of You

 Sympathy cards are hard, and I only make them when needed.  Here is the card I recently made;

I used the following for the card:

  • Gina K Designs - Master Layouts 1
  • Gina K Designs - Natural Silhouettes
  • Gina K Designs - Black Onyx, Powder Blue, Blue Denim
  • Ranger Dye Ink - Blue Ribbon
  • Altenew - Beautiful Inside
To make the card, I masked a rectangle in the center of a white piece of card stock.  Using blender brushes the ink was added light to dark.  Over this I added the flower silhouette stamped in black onyx.  The panel was cut using master layouts 1, and the black mat cut with the associated die.  The sentiment was stamped and matted.  This was added to the card using foam squares.  The panel was added to the mat and the entire piece added to the card base to complete the card.